|
Tutoriel
écrit
pour
Corel
Paint
shop
PhotoX2
Il
peut
être
réalisé
avec
d'autres
versions.
Matériel
au
choix
un
tube
au
choix.
Pas
de
Filtres
Ouvrir
le
matériel
dans
votre
psp,
dupliquer
les
tubes
et
fermer
les
originaux
Placer
en
avant-plan
une
couleur
de
votre
choix
1.
Fichier/nouveau/nouvelle
image
300x300
pixels,
transparent.
Remplir
de
la
couleur
d'avant
plan.
2.
Activé
le
tube
de
votre
choix
Edition/copier,
Revenir
sur
le
travail
Calque/nouveau
calque
raster/
Sélectionner/sélectionner
tout.
Edtion/coller
dans
la
sélection
3.
Sélection
désélectionner.
Effet/d'image/mosaique
sans
jointure
(par
défaut)
4.
Effet/texture/mosaique
antique:
32/32/41/5/56.
5.
Effet/artistique/E-mail:
20/16/16/45/blanc.
6.
Calque
fusionner
tout,
Effet
d'image/mosaique
sans
jointure
(par
défaut)
Placer
ce
motif
dans
votre
palette,
onglet
motif,
angle
0
echelle
a
100
7.
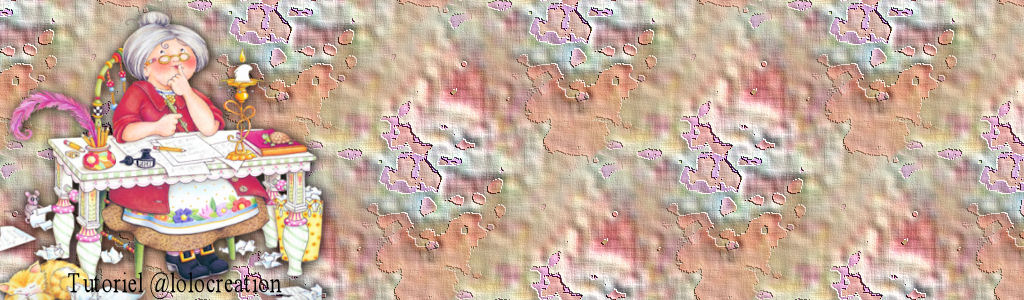
Fichier/nouveau/nouvelle
image
1024x300
pixels,
transparent.
Remplir
du
motif,
activé
le
tube
de
votre
choix,
Redimensionner
a
300
pixels
de
hauteur,
edition
copier,
Revenir
sur
le
travail,
edition
coller
comme
un
nouveau
calque,
et
placer
le
a
gauche..
Effet/effet
3D/ombre
portée:
au
choix.
Il
ne
vous
reste
plus
qu'a
signer
votre
oeuvre.
Fichier/enregister
en
JPG.
©lolocreation
tutoriel
2010
|